
Living in Galveston means weather phenomena such as floods and tropical storms are inevitable. The best thing you can do is ensure your home is able to withstand whatever nature has in store. When it comes to severe weather that includes flooding, the inside of your garage is usually going to be affected first. You can learn how to waterproof garage walls to reduce damage to your garage. When you know how to waterproof garage walls, you can hopefully avoid additional repair and restoration costs when the storm clears.
Why Waterproof Garage Walls?
There are quite a few benefits to be reaped when you keep your garage walls waterproof. As we’ve discussed, the first perk is that waterproofing keeps your garage safe from water damage after a storm. Another benefit is that you increase the durability of your garage walls by having additional damage protection. Finally, the better shape your garage walls are in, the higher value they will fetch in the long run.
How To Waterproof Garage Walls in 4 Steps
Now that you know why waterproof garage walls should be painted, let’s get into how to waterproof garage walls. Here is how to waterproof garage walls in just four steps:
1. Find The Right Waterproof Material
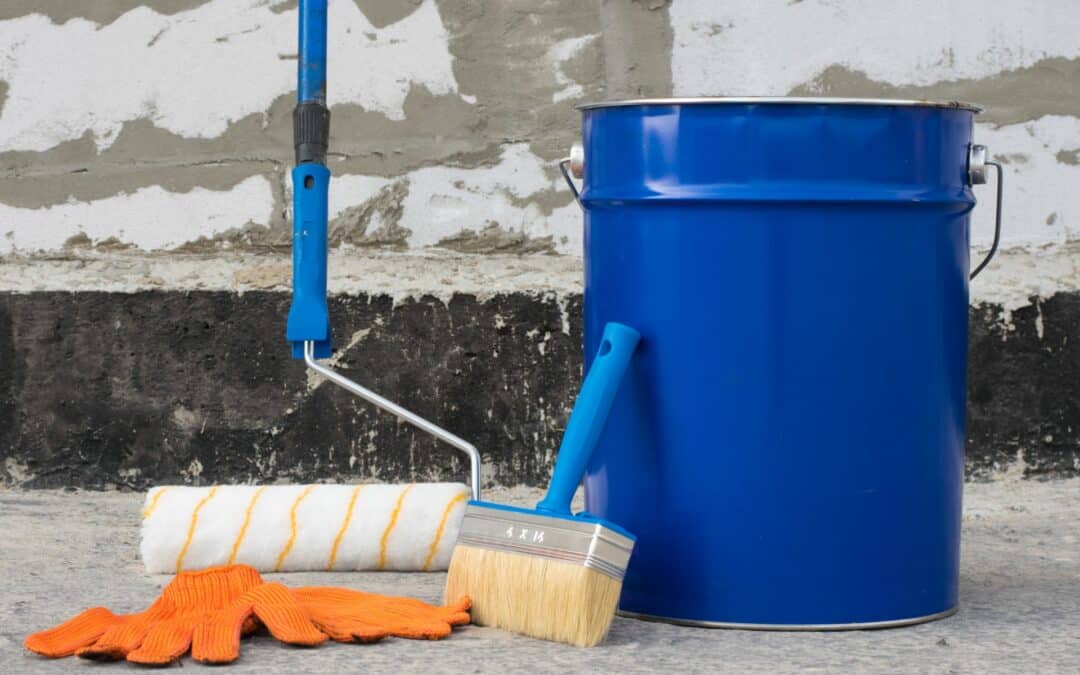
First, you must find the right waterproof material for your garage walls. There are many options to choose from for waterproofing material. Three of these options are Drylok paint, liquid rubber, and standard waterproof paint. Determine which one is most compatible with the material of your garage walls before purchasing. Don’t forget to ensure that there is room in your budget for your desired waterproof material.
2. Repair And Prepare Your Garage Walls
Before you can waterproof your garage walls, inspect them for any cracks, dents, or holes. Make sure those are filled in as soon as possible. If you aren’t entirely confident in your ability to seal the cracks and repair the damages, don’t hesitate to call a professional to do this step for you. Once the cracks are filled, you can go ahead and empty your garage completely. After your garage is empty, clean your garage walls so that they are ready for waterproofing.
3. Apply Waterproofing Substance
If you are using Drylok for your garage walls, you don’t need to worry about primer. This is because Drylok acts as a two-in-one primer and paint. Dryok itself is actually classified as a latex waterproofer rather than paint. Two coats of Drylock should be applied to your garage walls for maximum effectiveness. Liquid rubber might require a primer before applying, depending on the brand. As far as standard waterproof paint is concerned, ensure it’s evenly and gently applied, then let it dry before adding a second coat. Once the waterproofing substance of your choice has dried, it’s time for the final step.
4. Clean Up Your Garage
Now, it’s time to clean up your garage floor. Any remaining bits of waterproofing and debris can be cleaned up or swept away. If you want to go the extra mile in waterproofing your whole garage, you can apply epoxy to the floor and have a fully waterproof garage in addition to waterproof garage walls. Ensure your garage is all cleaned up as soon as you finish this project.
We Can Help Waterproof Your Garage!
Hopefully, you are now more confident in how to waterproof garage walls and can make sure your home is absolutely prepared for any storm. Your garage walls and floors aren’t the only parts of your garage that can be waterproofed. There are also ways to ensure your garage door is able to withstand any weather conditions. At Garage Door Repair Pro’s Galveston, we understand the importance of preparing every part of your home, including your garage, for extreme weather conditions. Contact us today and keep your garage ready for hurricane season.