
Do you wish you could keep your home cooler during the summer months without driving up your energy bill? Are you tired of being greeted by the unpleasant heat and humidity in your garage? Do you think it would be nice for your car not to feel too hot when you take it for a drive? The good news is that all these problems can be solved with garage door insulation. Insulating your garage door will provide that much-needed temperature control to your garage, keeping it and the rest of your home cool.
You will be able to enjoy the comfort of cool air while reducing your energy consumption. If you happen to be someone who likes to take on their own projects, DIY garage door insulation is an option worth considering. With this step-by-step guide, you’ll be able to proceed with the DIY garage door insulation installation process easily.
DIY Garage Door Insulation: A Step-By-Step Guide
Undertaking a DIY garage door insulation project requires a lot of hard work and skill. Following these steps will ensure that everything goes smoothly.
1. Find The Right Insulation For Your Garage Door
The first step in a DIY garage door insulation endeavor is to find the best insulation for your garage door. Does fiberglass batting work best, or are rigid foam panels more compatible? Are you trying to find material that’s easy to install or more budget-friendly? When it comes to installing your own garage door insulation, you can purchase a kit that already comes with the necessary equipment or buy the insulation materials separately. Consider what kind of insulation you think makes the most sense for your garage door, and proceed to place the necessary orders.
2. Ensure You Have The Right Equipment
If you are purchasing a garage door insulation kit, you’ll already have the insulation material as well as the equipment required to attach and install it. However, if you opt to buy the material separately, ensure you have the following supplies in your possession in addition to the insulation:
- Utility knife
- Tape measure
- Double-sided adhesive tape
- Straightedge
- Retainer and/or retention clips
- Ladder or stool.
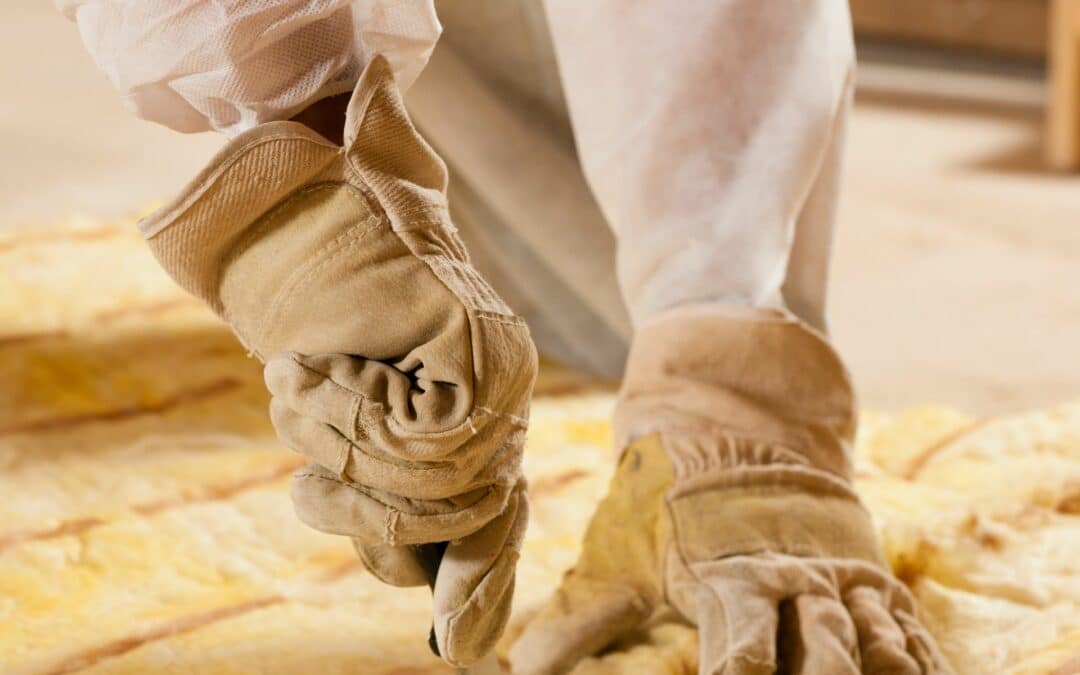
- Gloves and goggles
As long as you have some form of constructive adhesive and/or securing material to keep the insulation in place, you will be in good shape for the DIY garage door insulation installation process.
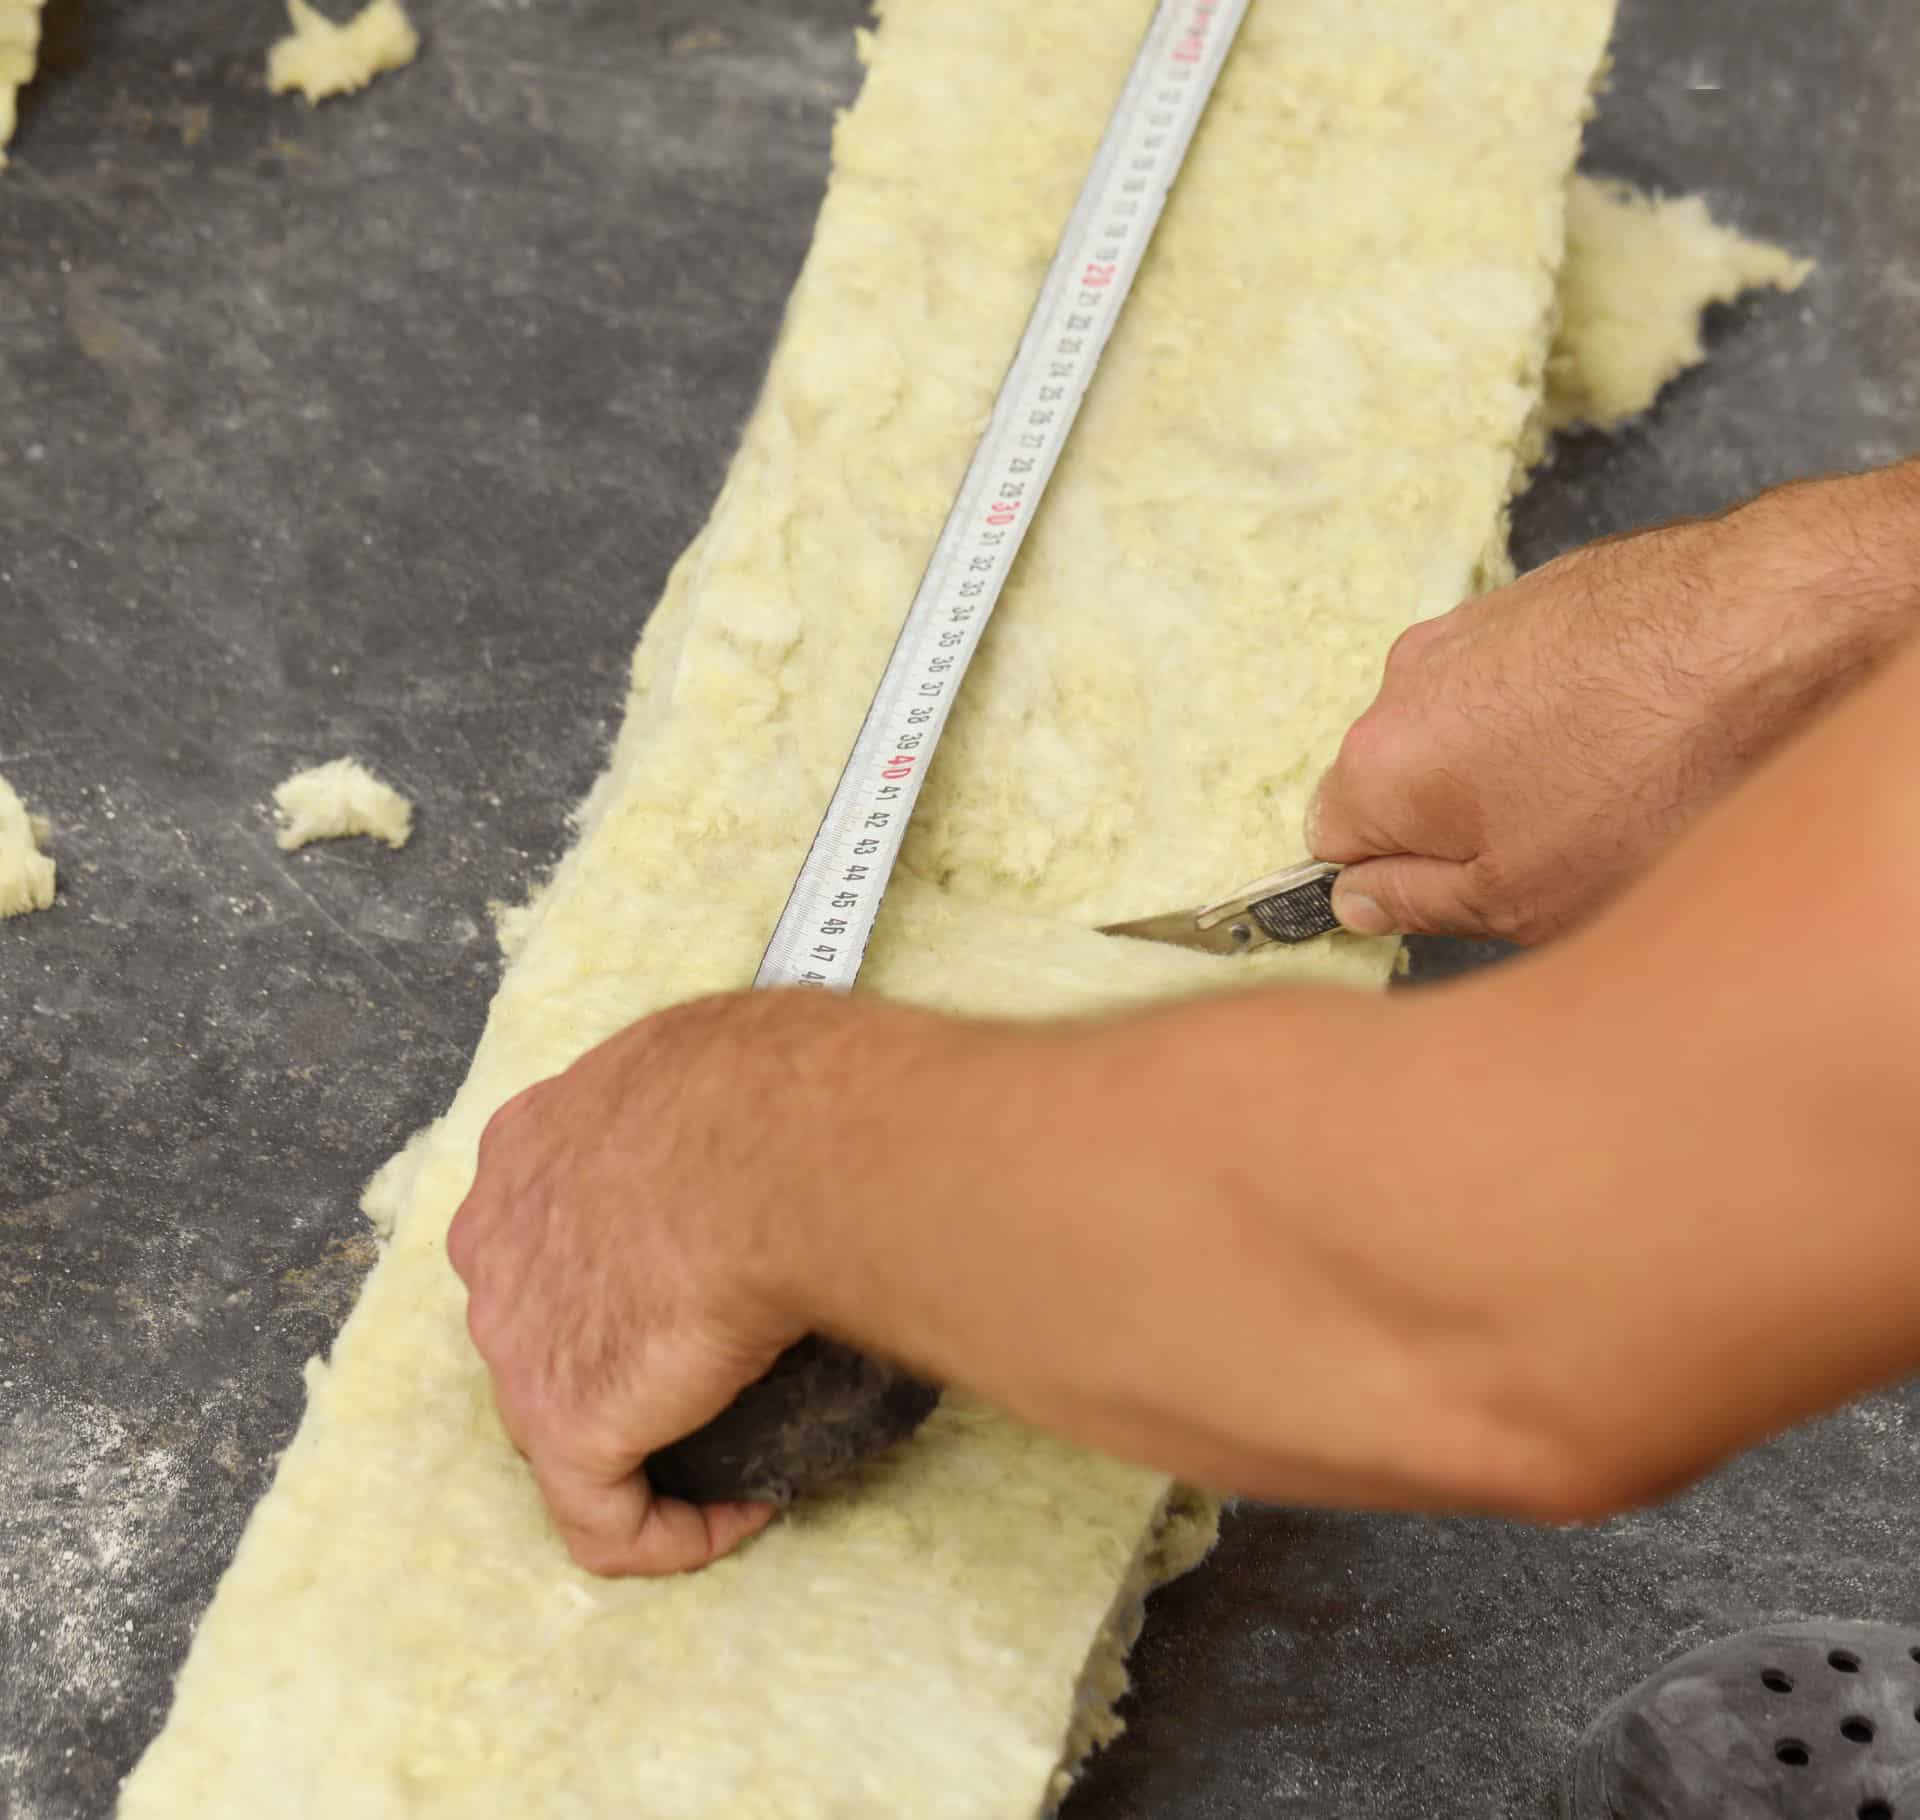
3. Measure Your Garage Door Panels
Now it’s time to measure your garage door panels with the tape measure. Be sure to record the measurements of each panel, as you’ll need this information when it’s time to cut the insulation. Keep in mind that you don’t cut the insulation based on the exact measurements. There is a specific guideline to ensure accuracy when cutting the insulation that you will utilize when the time is right. As you take the measurements, mark where you will attach any adhesive or securing materials.
4. Apply The Adhesive Materials
If you have double-sided tape, you’ll first place pieces of that tape on the areas you marked on your door. You’ll then place the additional constructive adhesive on the tape. Usually, this constructive adhesive will be a retainer clip. However, if you’re using an insulation kit with batting, you’ll use hooks instead.
5. Cut The Insulation As Needed
Now it’s time for the next part of completing your DIY garage door insulation project: cutting the insulation. For your safety, wear goggles and gloves to prevent any irritants from getting in your eyes or on your hands. As stated in step three, you won’t cut the insulation based on the exact panel measurements.
Instead, you will use the utility knife and straightedge to cut each piece of insulation an additional one or two inches on top of the original measurements. Don’t forget to dispose of any excess insulation. If you are using a DIY garage door insulation kit, you can skip this step, as the material will be pre-cut for you.
6. Attach The Insulation To Your Garage Door
Next, you’ll attach the insulation to the retainer clips, hooks, or other adhesive material on your garage door. Ensure that the insulation is securely tucked against your garage door. You’ll keep the insulation in place by placing the retention clips on them so that they attach to the retainer clips on the other side.
7. Weatherstrip Gaps, Cracks, And The Side Door
A DIY garage door insulation installation is only so effective without additional weatherstripping. For this reason, you’ll need to ensure that all gaps and cracks in your garage door are sealed and that weatherstripping is present as needed. Additionally, if your garage has a side door that leads outside, weatherstrip that door as well, or all your hard work will be for nothing.
If You Need Help Installing Insulation, Call Our Team Today!
This step-by-step installation guide for DIY garage door insulation will hopefully make adding this feature to your garage door easy. Of course, it’s understandable if you prefer leaving this job in professional hands. Luckily, if you happen to live in Galveston, all you need to do is reach out to us at Garage Door Repair Pro’s Galveston for a quality insulation installation.